5 Essential Tips for Tackling Sharp Bird & Wildlife Shots
Capturing crisp detail in bird photography is one of the most rewarding challenges in outdoor photography. Whether you are tracking a bird in mid-flight or photographing a perching species in soft shade, achieving critically sharp images comes down to controlling a few key variables.
Here are 5 practical techniques to ensure your subjects remain razor-sharp in every frame.
1. Nail Focus Directly on the Eye
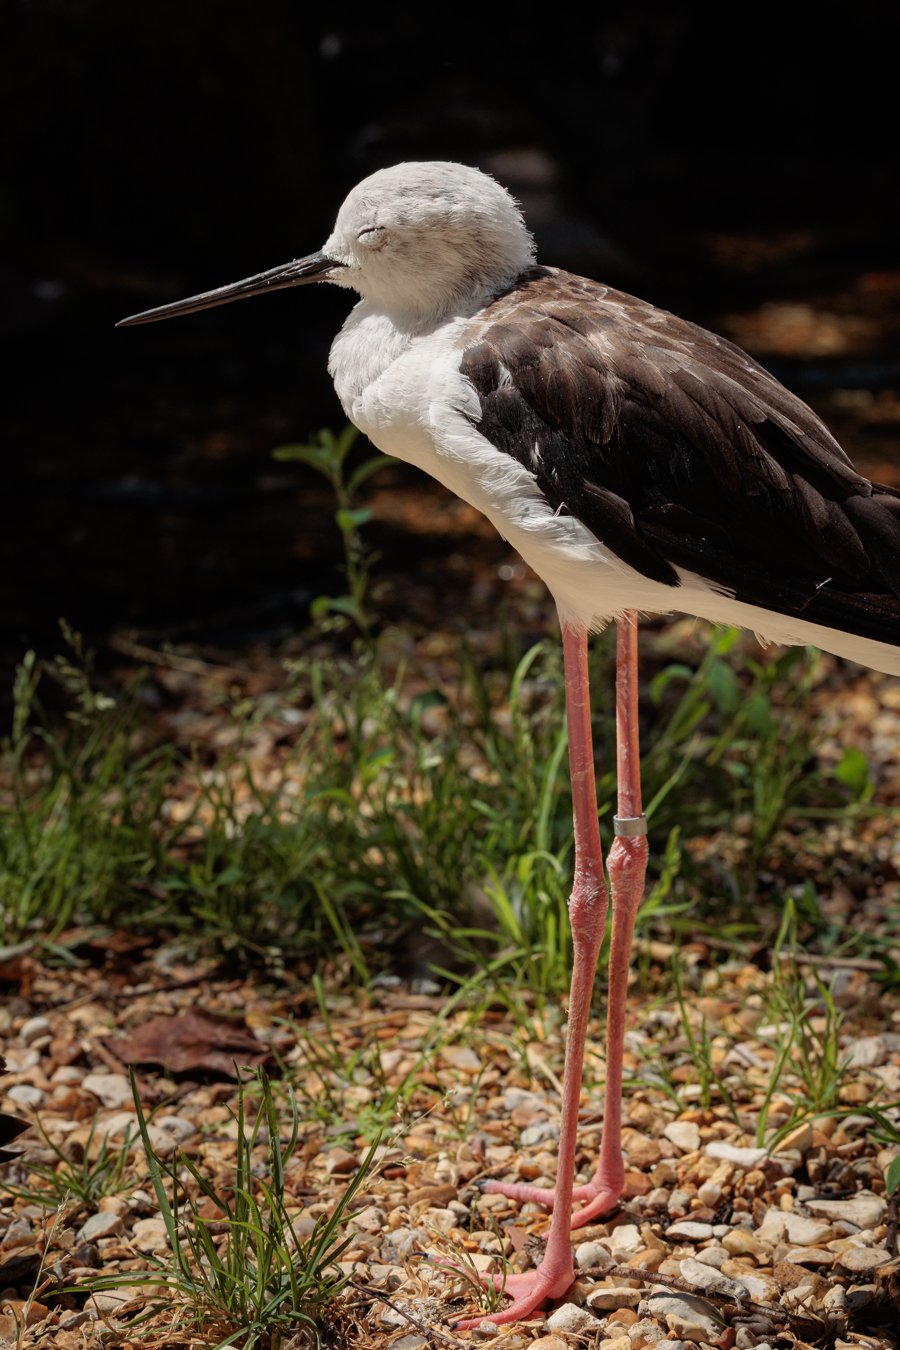
When photographing wildlife, the viewer’s eye naturally gravitates toward the subject's face. If the eye is soft, the entire image feels out of focus—even if the feathers or background are tack-sharp.
In Practice: Utilize Animal/Eye AF Tracking if your camera supports it. If you are using single-point focus, place your active focus point right on the eye or beak area before locking exposure.
2. Lock In High Shutter Speeds for Motion
Birds move fast, and subtle twitching or wing movement will quickly introduce motion blur if your shutter speed isn't fast enough.
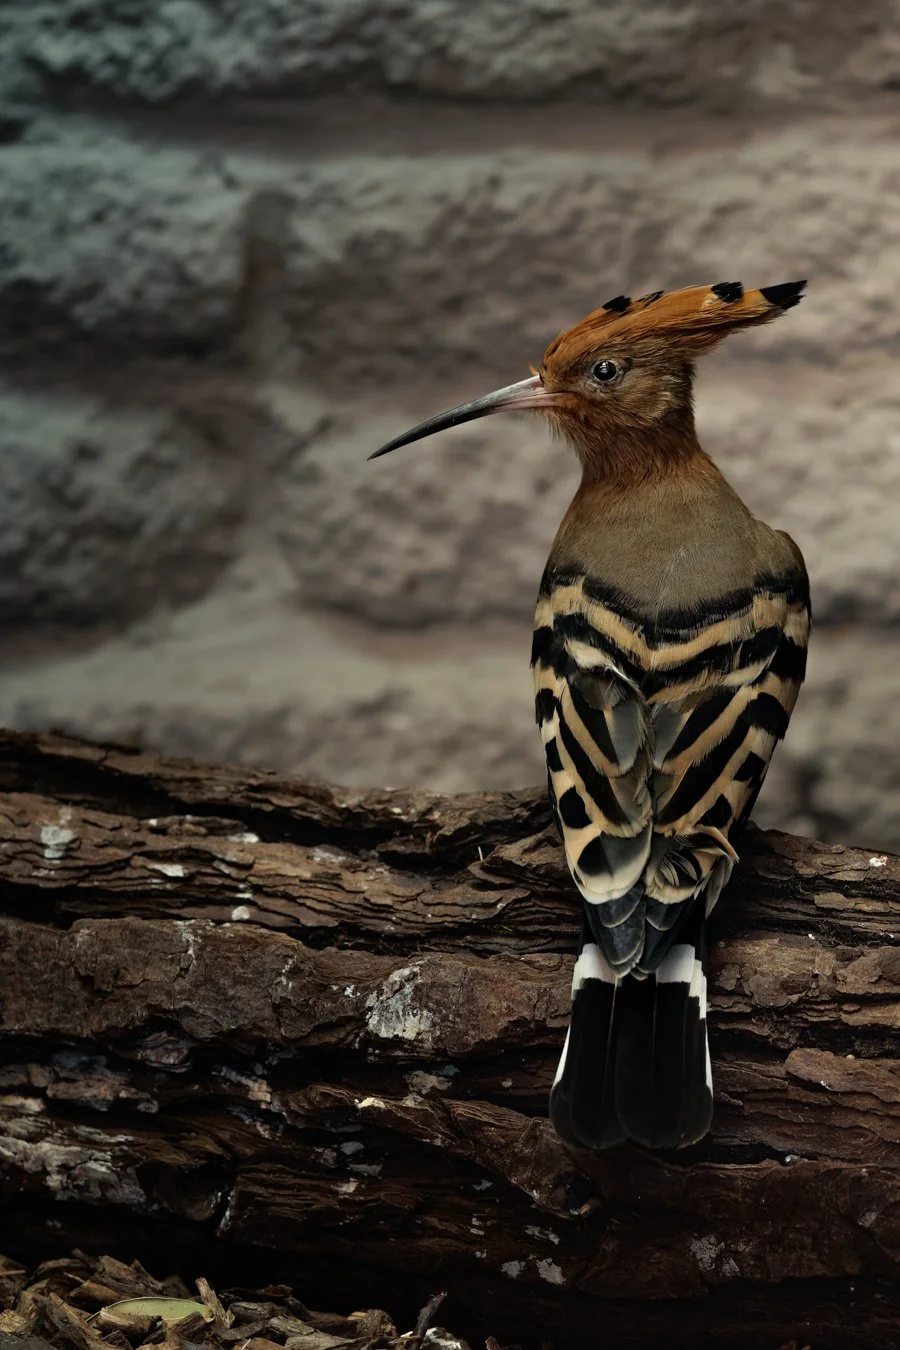
Perched Subjects: Aim for at least 1/500s to counter subtle head movements or breeze jitter.
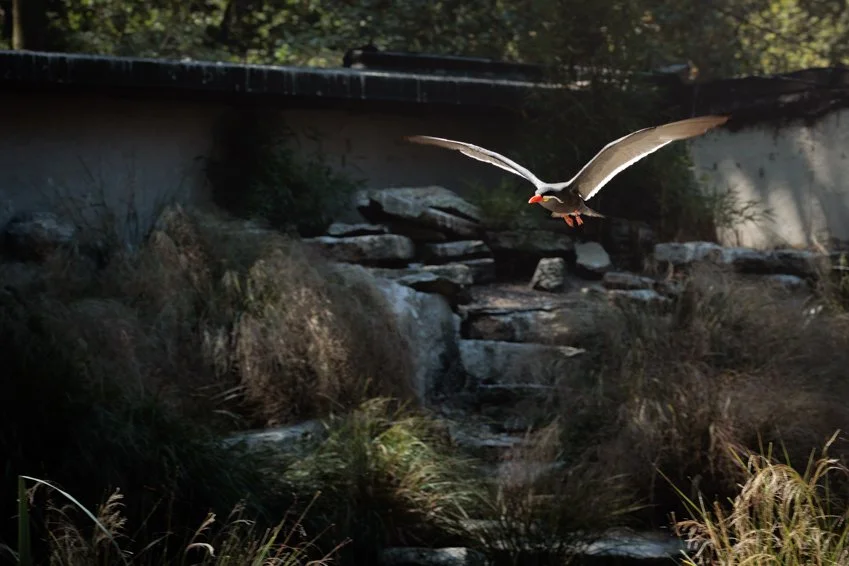
Flight Shots: Bump your shutter speed to 1/2000s or faster to freeze fast-moving wings clearly in mid-air.
3. Expose to Highlight Micro-Textures
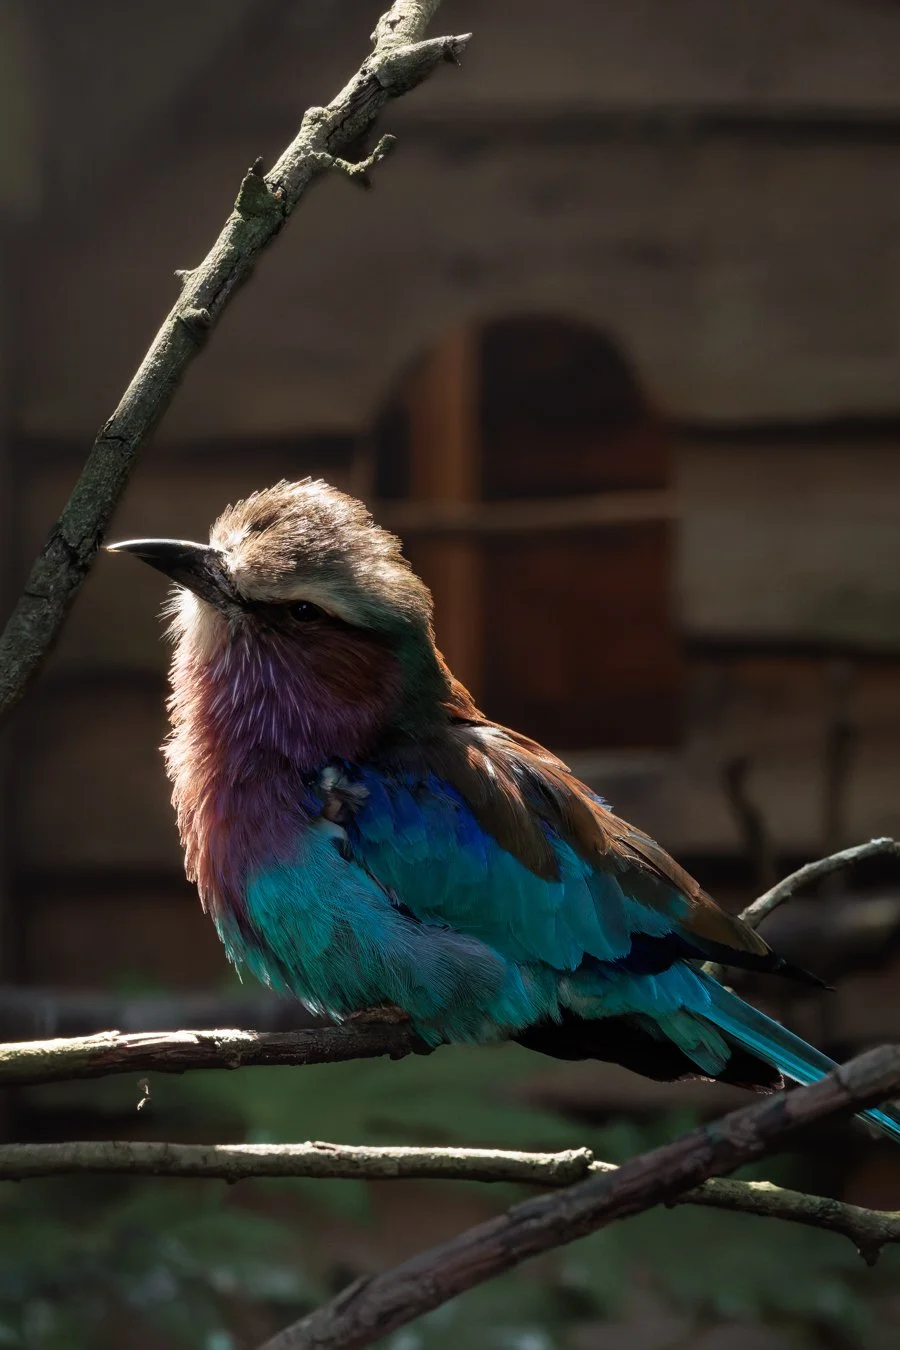
Critical sharpness relies heavily on lighting contrast. Soft, directional light catching the edge of a subject accentuates fine feather details, downy plumage, and beak textures that might otherwise look flat under harsh, overhead midday sun. Position yourself so the natural light catches the side or top profile of the bird to carve out sharp visual depth.
4. Separate Your Subject from Complex Backgrounds
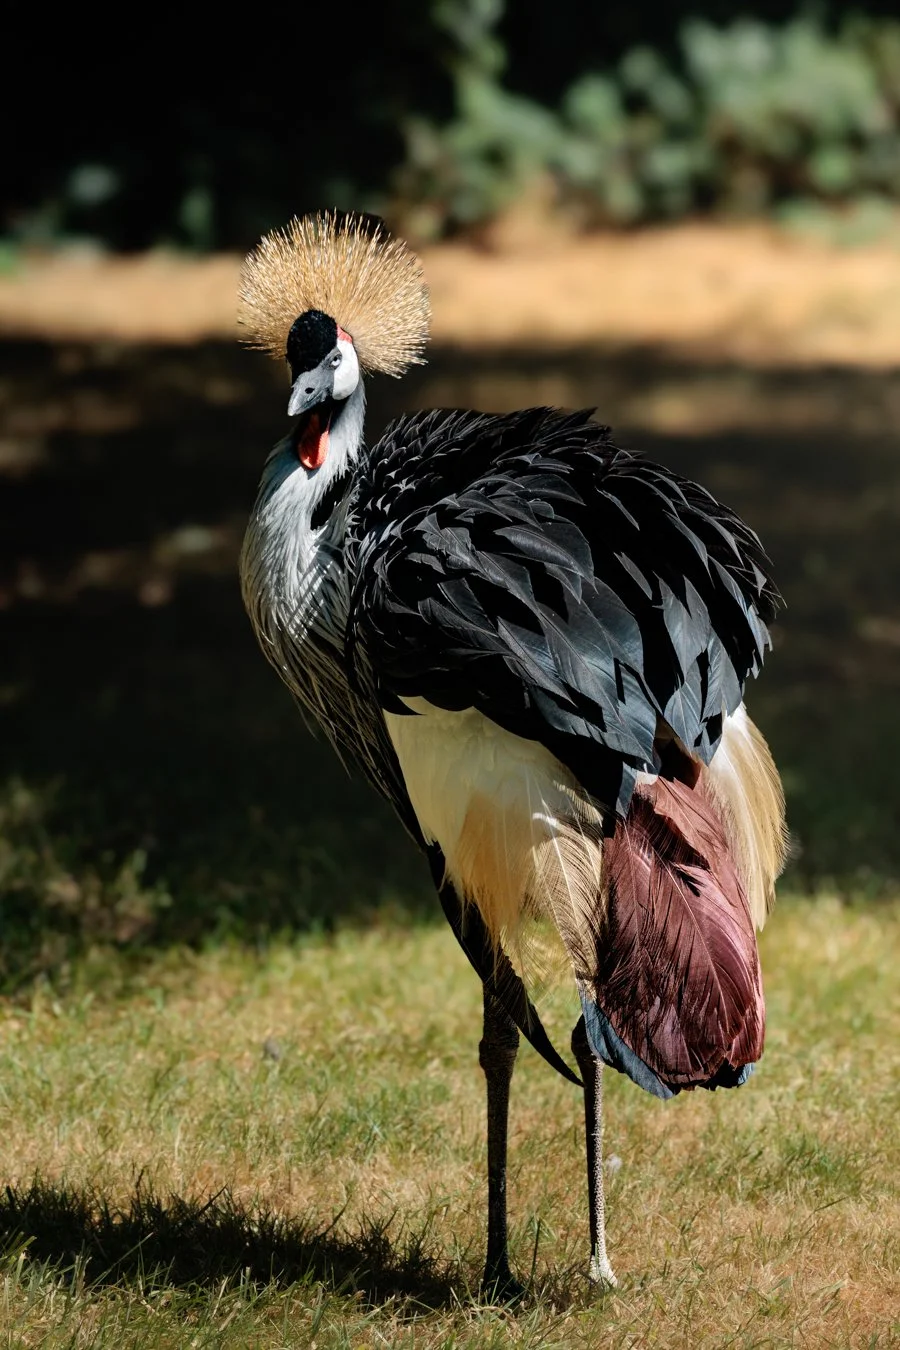
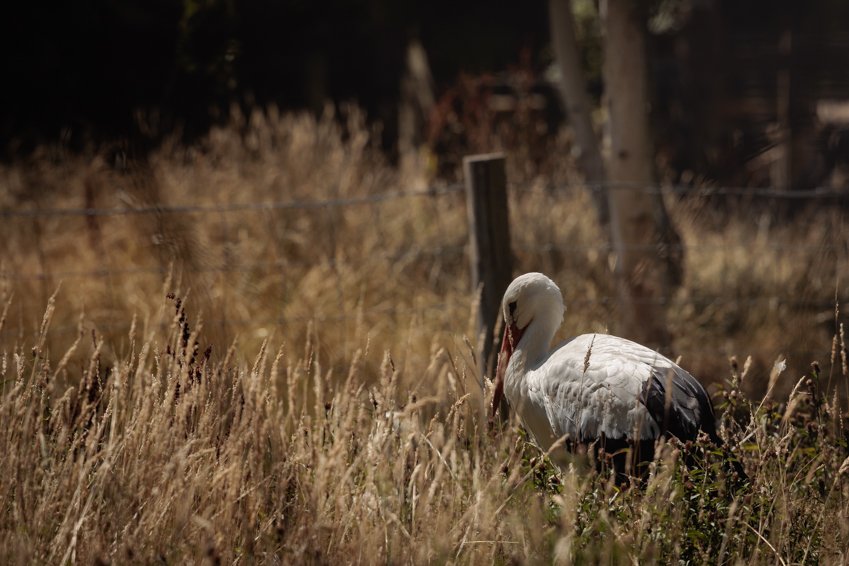
Busy backgrounds like tall dry grass, fence posts, or dense foliage can cause autofocus systems to hunt or accidentally lock onto background twigs.
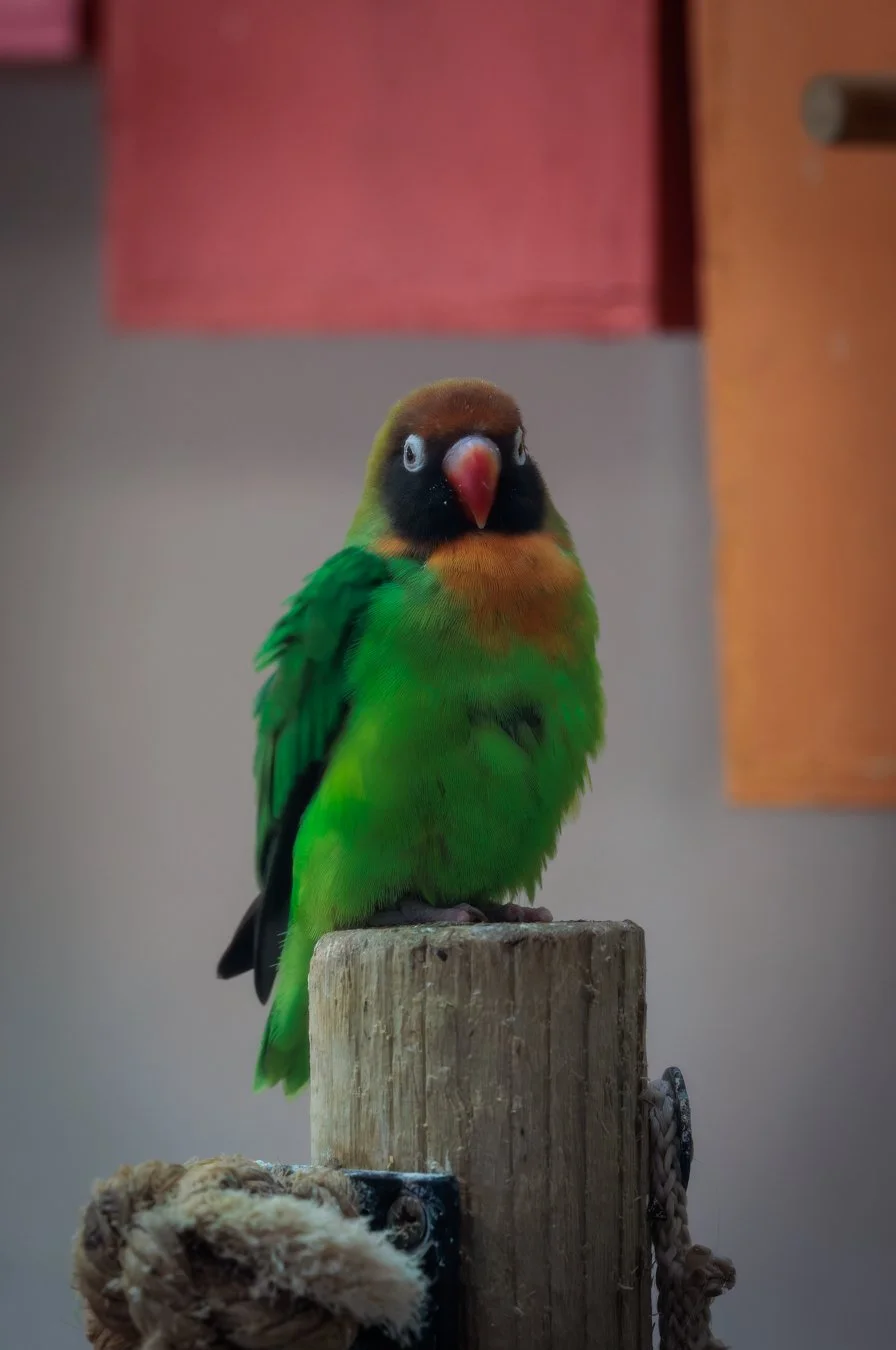
Lower Your Aperture: Shoot wider (e.g., f/4 to f/5.6 on longer telephoto lenses) to melt away background clutter into smooth bokeh.
Watch Your Angles: Shift your physical position so the area directly behind your subject is as far away as possible, helping the subject pop cleanly out of the frame.
5. Leverage Advanced Post-Processing Denoising
Shooting wildlife often requires pushing your ISO up to maintain those fast shutter speeds in shadowy environments. High digital noise can destroy micro-contrast and make a sharp image look soft or muddy.
Incorporating specialized AI raw processing tools (such as DxO DeepPRIME) late in your workflow removes sensor noise while preserving the fine, delicate edges of feather patterns and eye highlights. This gives your raw files that final, extra bit of rendering clarity before publishing.